- DispacherServlet
- WebApplicationInitializer
- @RequestMapping = @GetMapping = @PostMapping
Controller 작성 실습 1/3
웹 브라우저에서 http://localhost:8080/mvcexam/plusform이라고
요청을 보내면 서버는 웹 브라우저에게 2개의 값을 입력받을 수 있는 입력
창과 버튼이 있는 화면을 출력한다.
웹 브라우저에 2개의 값을 입력하고 버튼을 클릭하면
http://localhost:8080/mvcexam/plus URL로 2개의 입력값이 POST
방식으로 서버에게 전달한다. 서버는 2개의 값을 더한 후, 그 결과 값을 JSP
에게 request scope으로 전달하여 출력한다.
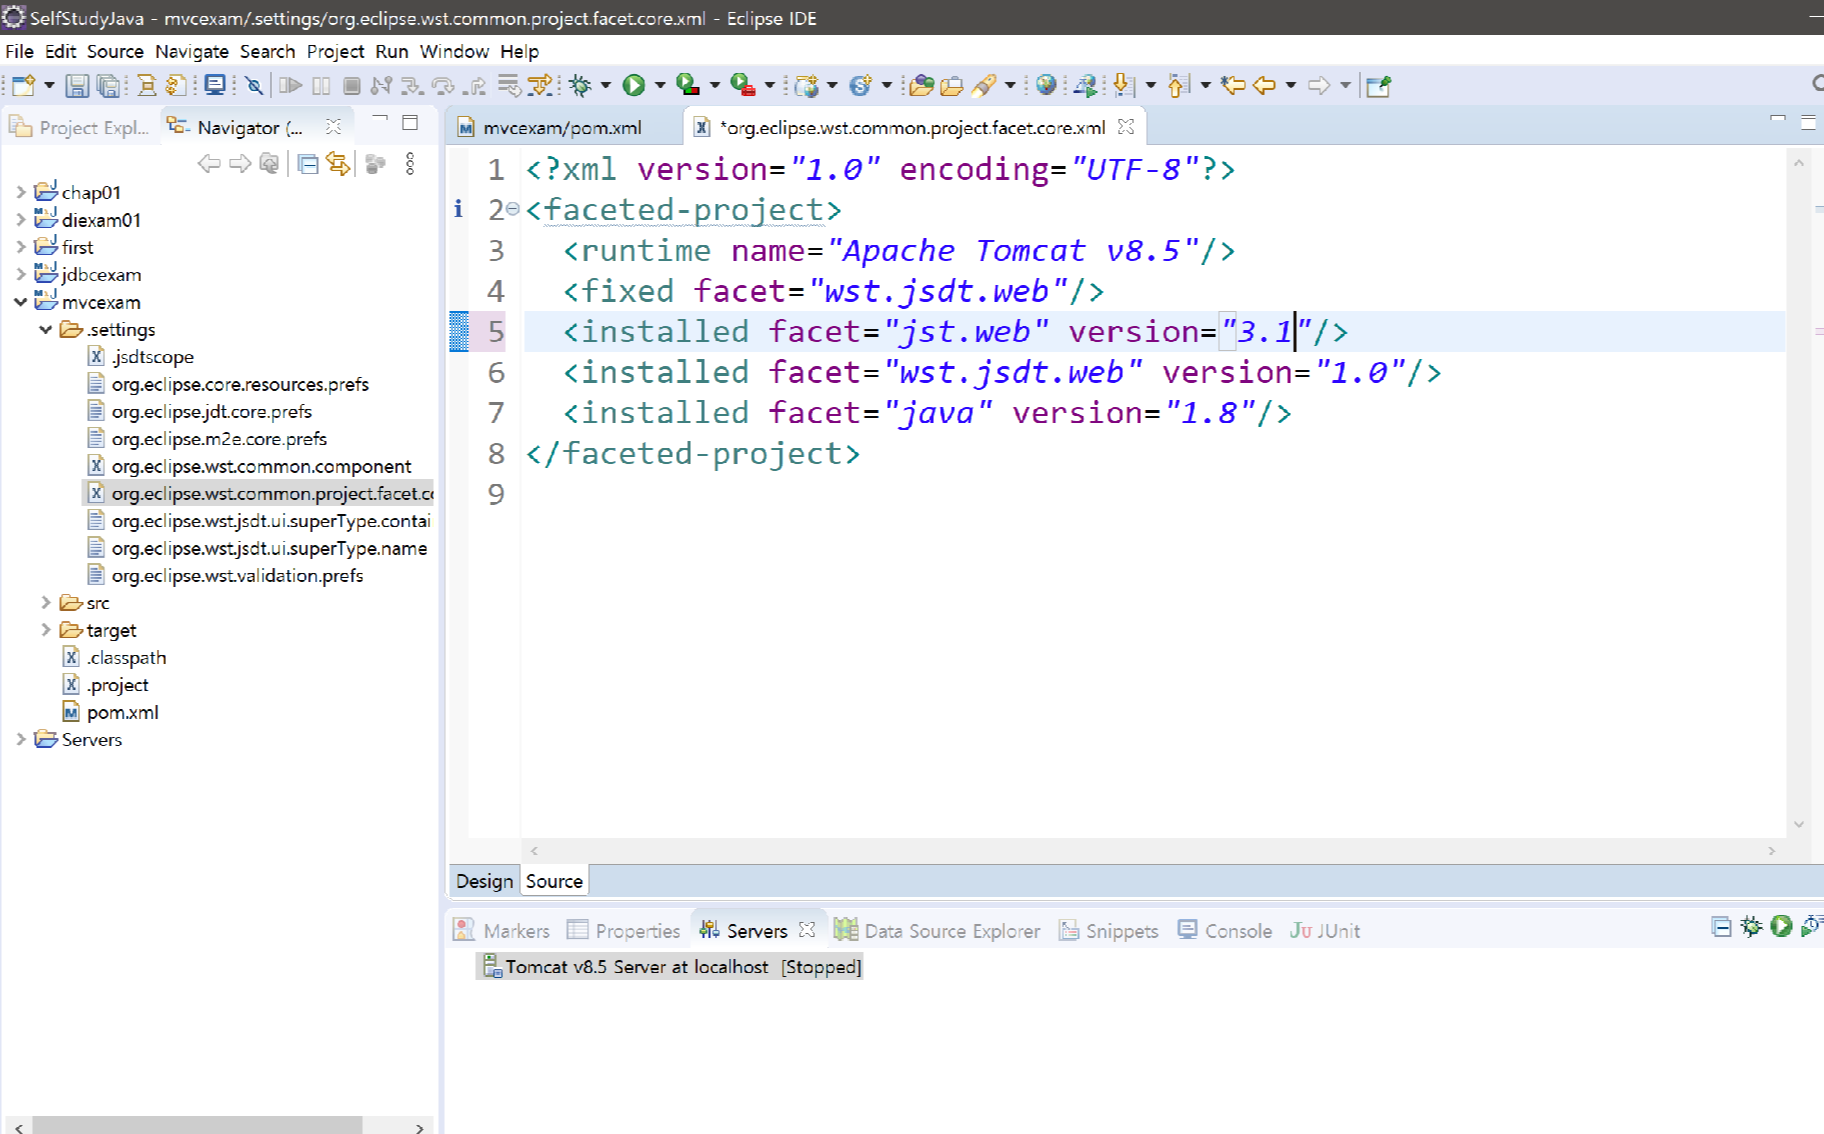
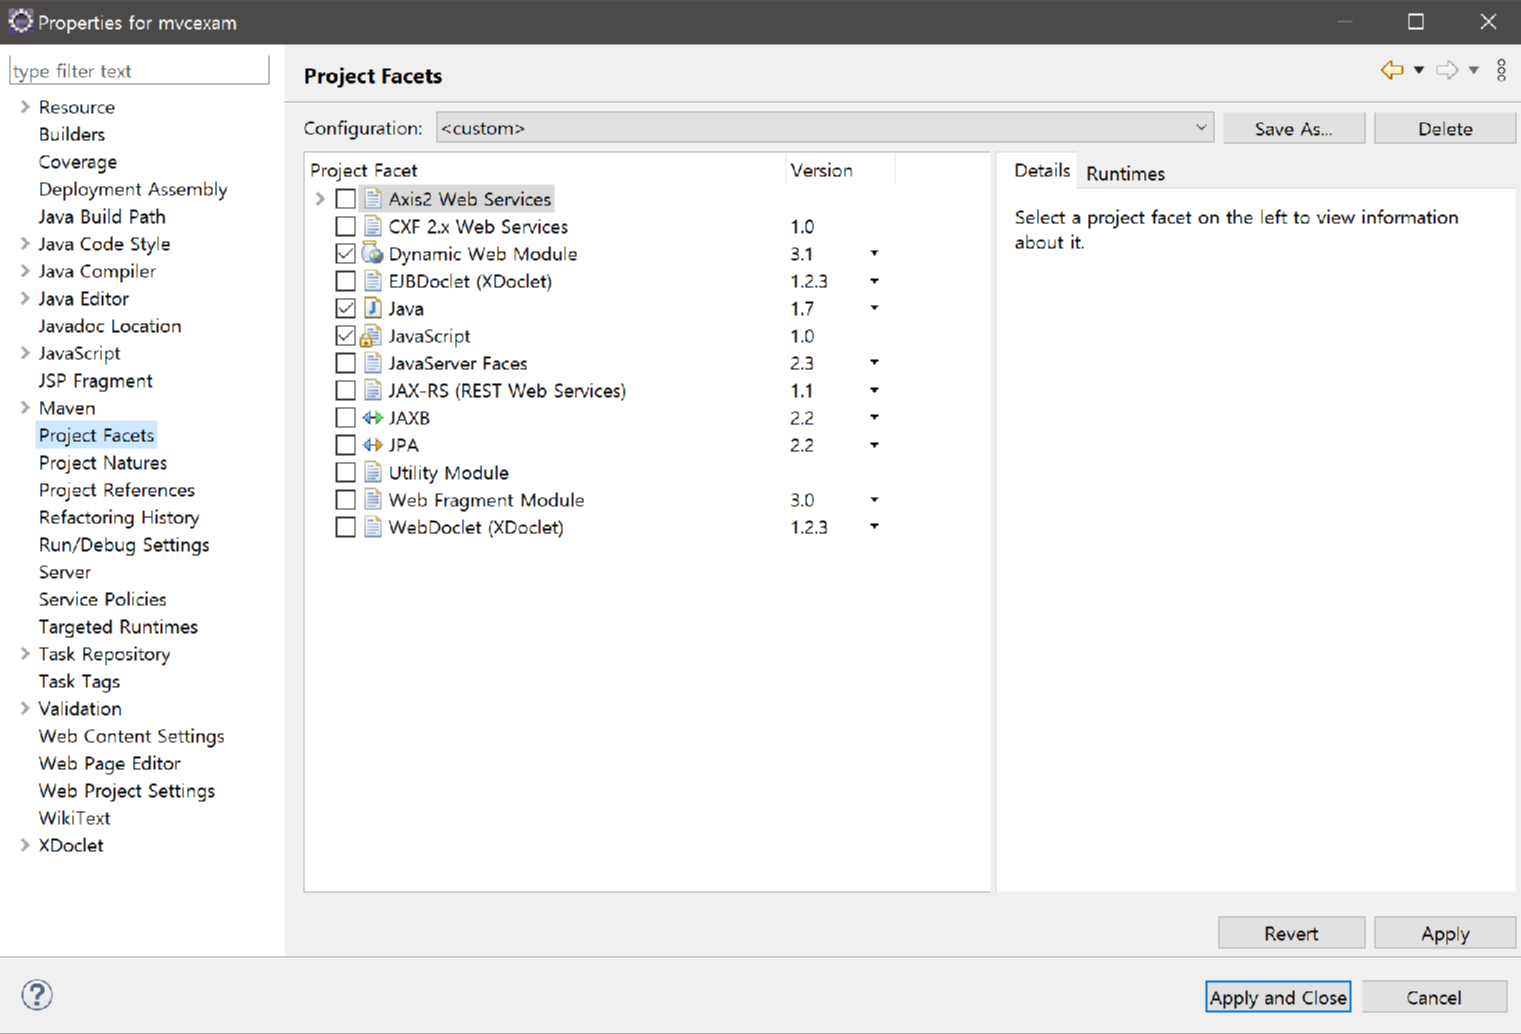
maven project webapp 만들기
pom.xml 설정
<?xml version="1.0" encoding="UTF-8"?>

<project xmlns="http://maven.apache.org/POM/4.0.0" xmlns:xsi="http://www.w3.org/2001/XMLSchema-instance"
  xsi:schemaLocation="http://maven.apache.org/POM/4.0.0 http://maven.apache.org/xsd/maven-4.0.0.xsd">
  <modelVersion>4.0.0</modelVersion>

  <groupId>kr.or.connect</groupId>
  <artifactId>mvcexam</artifactId>
  <version>0.0.1-SNAPSHOT</version>
  <name>mvcexam Maven Webapp</name>
  <url>http://www.example.org</url>

  <properties>
    <project.build.sourceEncoding>UTF-8</project.build.sourceEncoding>
  	<spring.version>4.3.5.RELEASE</spring.version>
  </properties>


  <dependencies>
  		<dependency>
			<groupId>org.springframework</groupId>
			<artifactId>spring-context</artifactId>
			<version>${spring.version}</version>
		</dependency>
		<dependency>
           <groupId>org.springframework</groupId>
           <artifactId>spring-webmvc</artifactId>
			<version>${spring.version}</version>
		</dependency>


    <dependency>
      <groupId>junit</groupId>
      <artifactId>junit</artifactId>
      <version>4.11</version>
      <scope>test</scope>
    </dependency>

    <dependency>
		    <groupId>javax.servlet</groupId>
		    <artifactId>javax.servlet-api</artifactId>
		    <version>3.1.0</version>
		    <scope>provided</scope>
		</dependency>


     <dependency>
            <groupId>javax.servlet.jsp</groupId>
            <artifactId>javax.servlet.jsp-api</artifactId>
            <version>2.3.1</version>
            <scope>provided</scope>
        </dependency>

    <dependency>
    		<groupId>jstl</groupId>
    		<artifactId>jstl</artifactId>
    		<version>1.2</version>


  </dependencies>


  <build>
    <finalName>mvcexam</finalName>
    <pluginManagement><!-- lock down plugins versions to avoid using Maven defaults (may be moved to parent pom) -->
      <plugins>
            <plugin>
				<groupId>org.apache.maven.plugins</groupId>
				<artifactId>maven-compiler-plugin</artifactId>
				<version>3.6.1</version>
				<configuration>
					<source>1.7</source>
					<target>1.7</target>
				</configuration>
			</plugin>


      </plugins>
    </pluginManagement>
  </build>
</project>
프로젝트 준비 과정 여기까지
---------------------------------------------------------------------------------------------------------------
DispatcherServlet을 FrontController로 설정하는 방법 3가지
DispatcherServlet가 FrontController의 역할을 할 수 있도록 설정하는 것
- web.xml 파일에 설정
- javax.servlet.ServletContainerInitializer 사용
- 서블릿 3.0 스펙 이상에서 web.xml파일을 대신해서 사용할 수 있다. - org.springframework.web.WebApplicationInitializer 인터페이스를 구현해서 사용
@Configuration
- org.springframework.context.annotation의 Configuration 애노테이션과 Bean 애노테이션 코드를 이용하여 스프링 컨테이너에 새 로운 빈 객체를 제공할 수 있다.
@EnableWebMvc
- DispatcherServlet의 RequestMappingHandlerMapping, RequestMappingHandlerAdapter, ExceptionHandlerExceptionResolver, MessageConverter 등 Web에 필요한 빈들을 대부분 자동으로 설정해준다.
- xml로 설정의 <mvc:annotation-driven/> 와 동일하다.
- 기본 설정 이외의 설정이 필요하다면 WebMvcConfigurerAdapter 를 상속받도록 Java config class를 작성한 후, 필요한 메소드를 오버라이딩 하도록 한다.
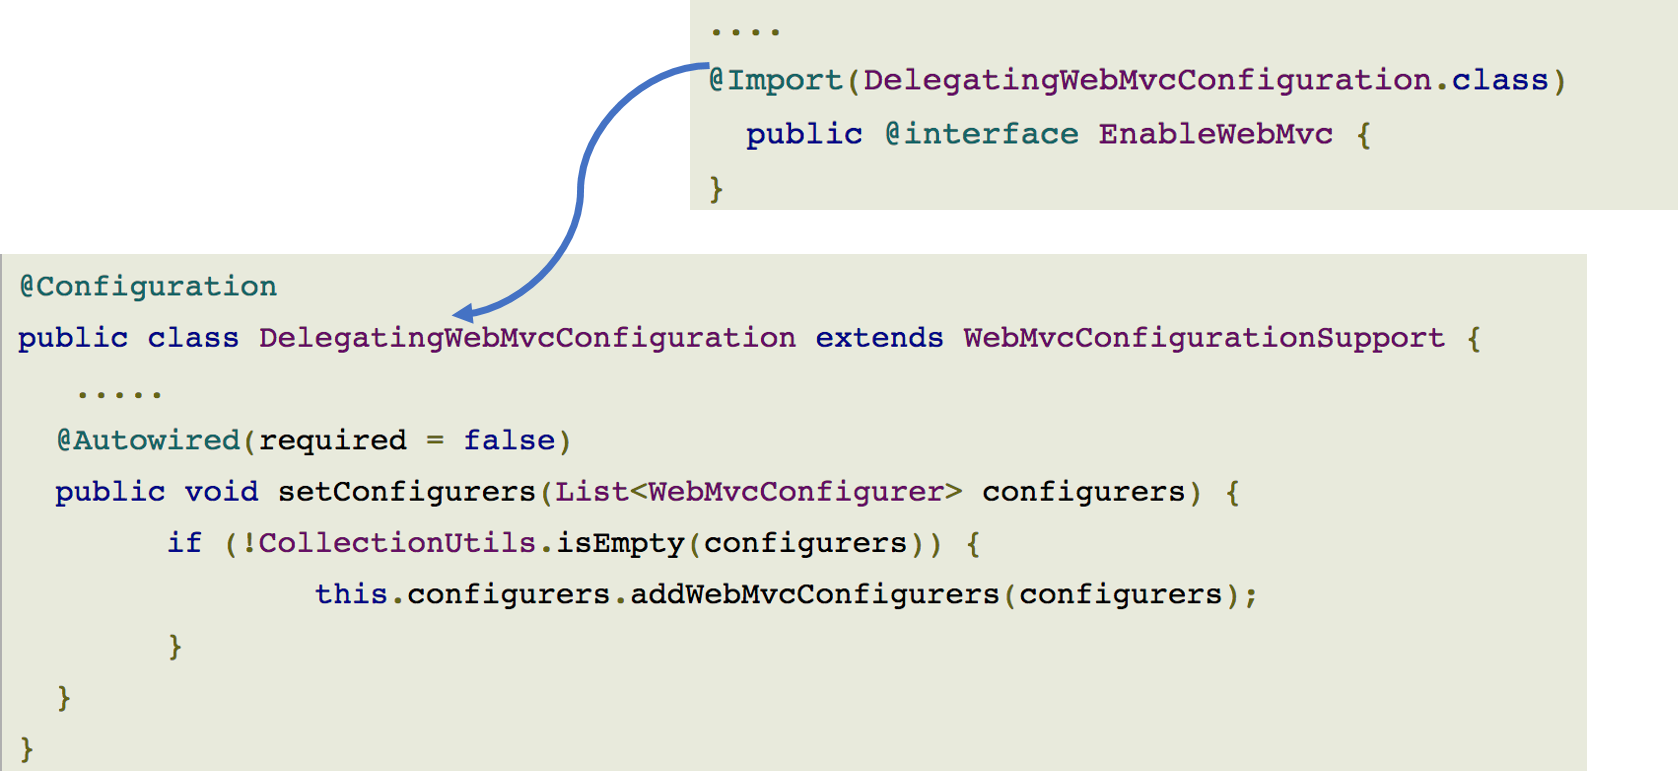
WebMvcConfigurationSupport
@ComponentScan
- ComponentScan애노테이션을 이용하면 Controller, Service, Repository, Component애노테이션이 붙은 클래스를 찾아 스프링 컨테이너가 관리하게 된다.
- DefaultAnnotationHandlerMapping과 RequestMappingHandlerMapping구현체는 다른 핸드러 매핑보다 훨씬 더 정교한 작업을 수행한다. 이 두 개의 구현체는 애노테이션을 사용해 매핑 관계를 찾는 매우 강력한 기능을 가지고 있다. 이들 구현체는 스프링 컨테이너 즉 애플리케이션 컨텍스트에 있는 요청 처리 빈에서 RequestMapping애노테이션을 클래스나 메소드에서 찾아 HandlerMapping객체를 생성하게 된다.
- HandlerMapping은 서버로 들어온 요청을 어느 핸들러로 전달할지 결정하는 역할을 수행한다.
- DefaultAnnotationHandlerMapping은 DispatcherServlet이 기본으로 등록하는 기본 핸들러 맵핑 객체이고, RequestMappingHandlerMapping은 더 강력하고 유연하지만 사용하려면 명시적으로 설정해야 한다.
WebMvcConfigurerAdapter
- org.springframework.web.servlet.config.annotation. WebMvcConfigurerAdapter
- @EnableWebMvc 를 이용하면 기본적인 설정이 모두 자동으로 되지만, 기본 설정 이외의 설정이 필요할 경우 해당 클래스를 상속 받은 후, 메소드를 오버라이딩 하여 구현한다.
Controller(Handler) 클래스 작성하기
- @Controller 애노테이션을 클래스 위에 붙인다.
- 맵핑을 위해 @RequestMapping 애노테이션을 클래스나 메소드에서 사용한다.
@RequestMapping
- Http 요청과 이를 다루기 위한 Controller 의 메소드를 연결하는 어노테이션
- Http Method 와 연결하는 방법
- @RequestMapping(value="/users", method=RequestMethod.POST)
- From Spring 4.3 version (@GetMapping, @PostMapping, @PutMapping, @DeleteMapping, @PatchMapping) - Http 특정 해더와 연결하는 방법
- @RequestMapping(method = RequestMethod.GET, headers = "content-type=application/json") - Http Parameter 와 연결하는 방법
- @RequestMapping(method = RequestMethod.GET, params = "type=raw") - Content-Type Header 와 연결하는 방법
- @RequestMapping(method = RequestMethod.GET, consumes = "application/json") - Accept Header 와 연결하는 방법
- @RequestMapping(method = RequestMethod.GET, produces = "application/json")
mvcexam - maven project webapp
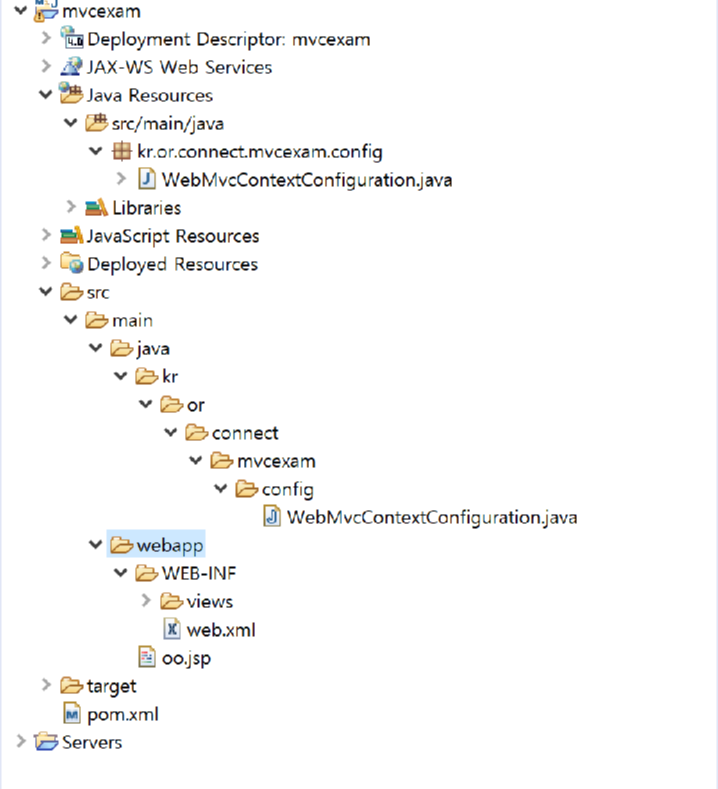
WebMvcContextConfiguration.java
package kr.or.connect.mvcexam.config;

import org.springframework.context.annotation.Bean;
import org.springframework.context.annotation.ComponentScan;
import org.springframework.context.annotation.Configuration;
import org.springframework.web.servlet.config.annotation.DefaultServletHandlerConfigurer;
import org.springframework.web.servlet.config.annotation.EnableWebMvc;
import org.springframework.web.servlet.config.annotation.ResourceHandlerRegistry;
import org.springframework.web.servlet.config.annotation.ViewControllerRegistry;
import org.springframework.web.servlet.config.annotation.WebMvcConfigurerAdapter;
import org.springframework.web.servlet.view.InternalResourceViewResolver;

@Configuration
@EnableWebMvc
@ComponentScan(basePackages = { "kr.or.connect.mvcexam.controller" })
public class WebMvcContextConfiguration extends WebMvcConfigurerAdapter {
	@Override
    public void addResourceHandlers(ResourceHandlerRegistry registry) {
        registry.addResourceHandler("/assets/**").addResourceLocations("classpath:/META-INF/resources/webjars/").setCachePeriod(31556926);
        registry.addResourceHandler("/css/**").addResourceLocations("/css/").setCachePeriod(31556926);
        registry.addResourceHandler("/img/**").addResourceLocations("/img/").setCachePeriod(31556926);
        registry.addResourceHandler("/js/**").addResourceLocations("/js/").setCachePeriod(31556926);
   							// 이렇게 요청된 것은                   //여기서 찾는다는 의미

   }

    // default servlet handler를 사용하게 합니다.
    @Override
    public void configureDefaultServletHandling(DefaultServletHandlerConfigurer configurer) {
        configurer.enable();
        //매핑 정보없는url 요청을 was 의 defaultServlet에게 넘기는 역할 was는 static한 자원을 보이게 한다.
    }

    @Override
    public void addViewControllers(final ViewControllerRegistry registry) {
    		System.out.println("addViewControllers가 호출됩니다. ");
        registry.addViewController("/").setViewName("main");
        			// 특정url에 대한 처리를  controller 클래스 를 작성하지 않고 매핑할 수 있도록 해주는 것
    }

    @Bean
    public InternalResourceViewResolver getInternalResourceViewResolver() {
        InternalResourceViewResolver resolver = new InternalResourceViewResolver();
        resolver.setPrefix("/WEB-INF/views/");
        resolver.setSuffix(".jsp");
        return resolver;
    }
}
configureDefaultServletHandling
//매핑 정보없는url 요청을 was 의 defaultServlet에게 넘기는 역할 was는 static한 자원을 보이게 한다.
addViewController
특정url에 대한 처리를 controller 클래스 를 작성하지 않고 매핑할 수 있도록 해주는 것
getInternalResourceViewResolver()
에서 설정된 형태로 뷰를 사용하게 된다. resolver를 생성해서 파일을 찾아줌 경로
web.xml
<!DOCTYPE web-app PUBLIC
 "-//Sun Microsystems, Inc.//DTD Web Application 2.3//EN"
 "http://java.sun.com/dtd/web-app_2_3.dtd" >

<web-app>

    <display-name>Spring JavaConfig Sample</display-name>

  <servlet>
    <servlet-name>mvc</servlet-name>
    <servlet-class>org.springframework.web.servlet.DispatcherServlet</servlet-class>
    <init-param>
      <param-name>contextClass</param-name>
      <param-value>org.springframework.web.context.support.AnnotationConfigWebApplicationContext</param-value>
    </init-param>
    <init-param>
      <param-name>contextConfigLocation</param-name>
      <param-value>kr.or.connect.mvcexam.config.WebMvcContextConfiguration</param-value>
    </init-param>
    <load-on-startup>1</load-on-startup>
  </servlet>
  <servlet-mapping>
    <servlet-name>mvc</servlet-name>
    <url-pattern>/</url-pattern>
  </servlet-mapping>

</web-app>
url이 /로 들어오면(모든요청) servlet-name mvc를 찾아감
<init-param>에서 클래스명 등록(패키지명 포함)
AnnotationConfigWebApplicationContext 사용등록
DispatcherServlet가 FrontController의 역할을 할 수 있도록 설정함
main.jsp
<%@ page language="java" contentType="text/html; charset=UTF-8"
    pageEncoding="UTF-8"%>
<!DOCTYPE html PUBLIC "-//W3C//DTD HTML 4.01 Transitional//EN" "http://www.w3.org/TR/html4/loose.dtd">
<html>
<head>
<meta http-equiv="Content-Type" content="text/html; charset=UTF-8">
<title>Insert title here</title>
</head>
<body>
<h1>main page~~~!!</h1>
</body>
</html>
-----------------------------------------------------------------------------------------------------------------------------------
java.lang.ClassNotFoundException 에러 해결 방법
실행오류 생길 경우
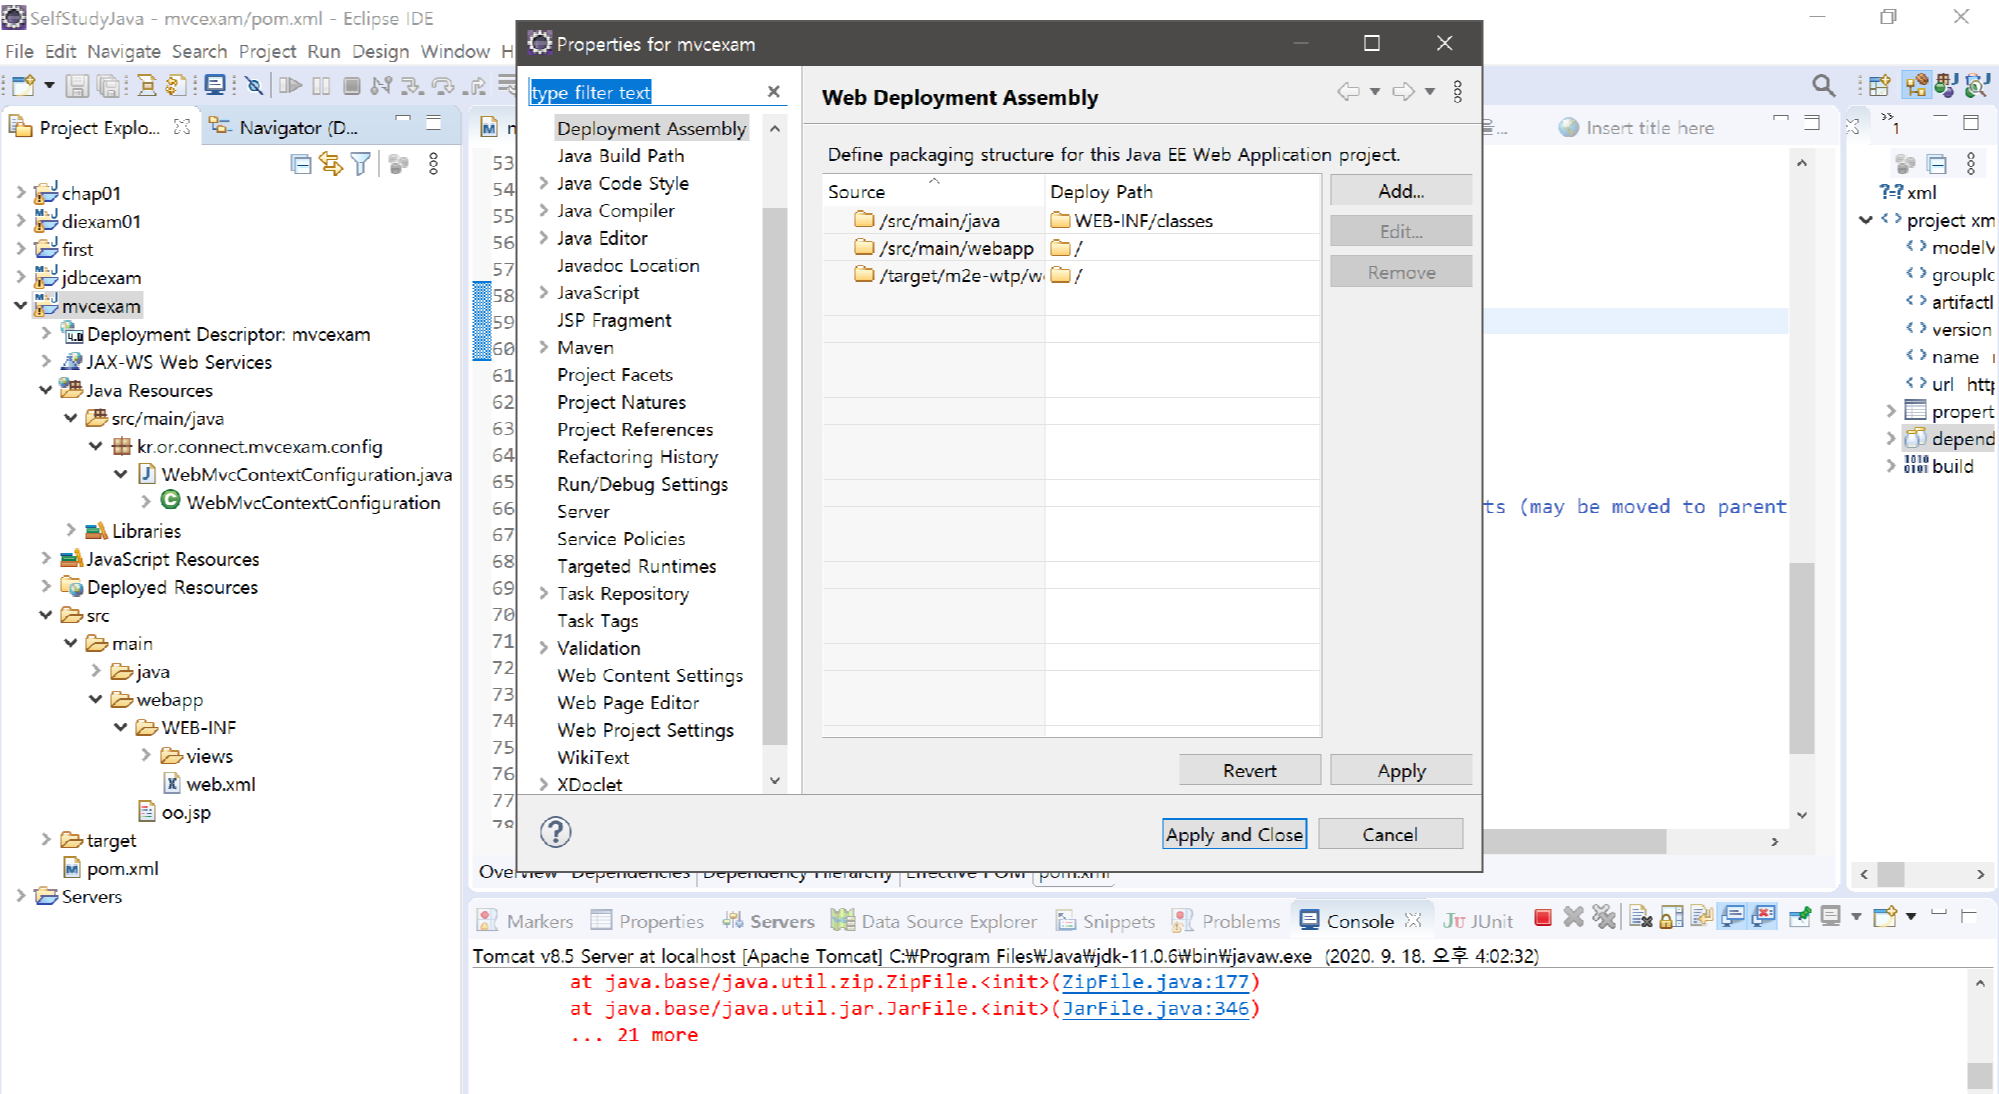
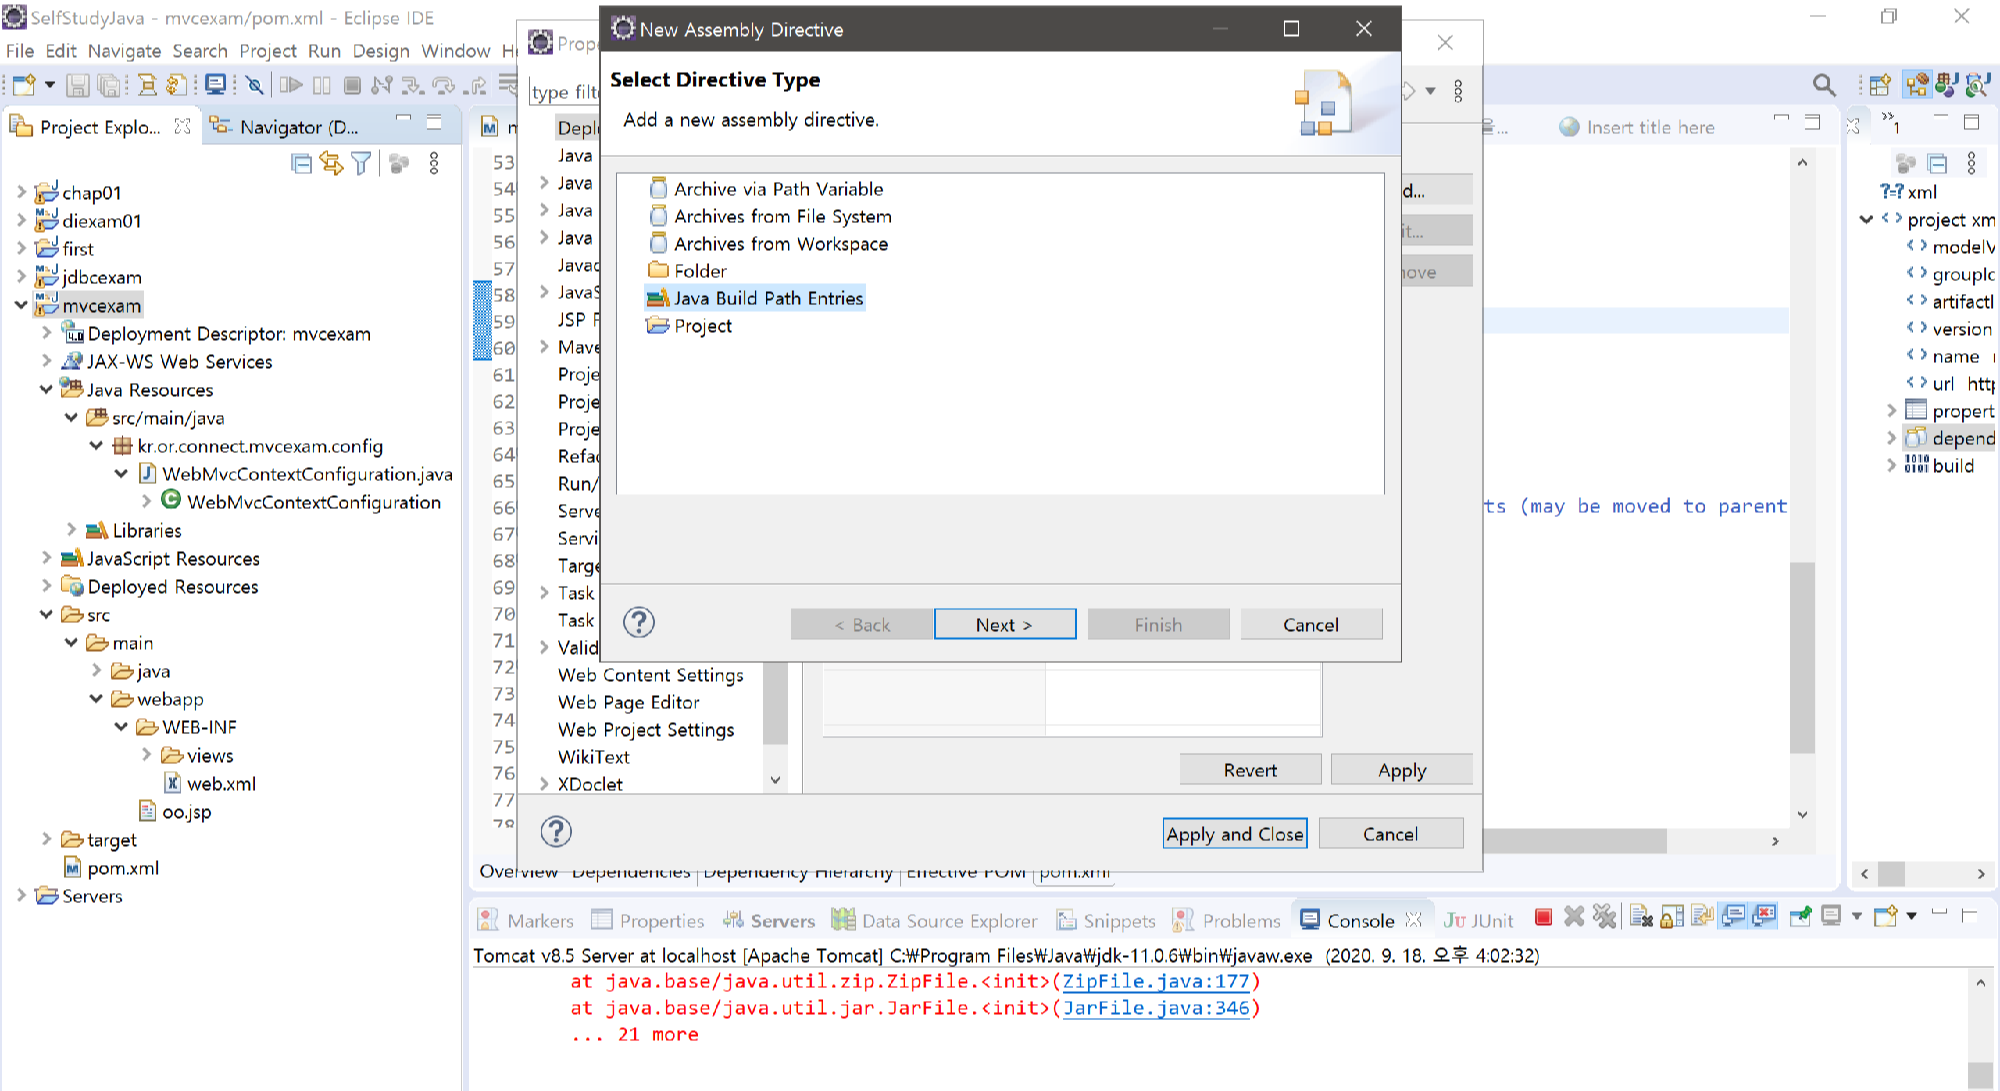
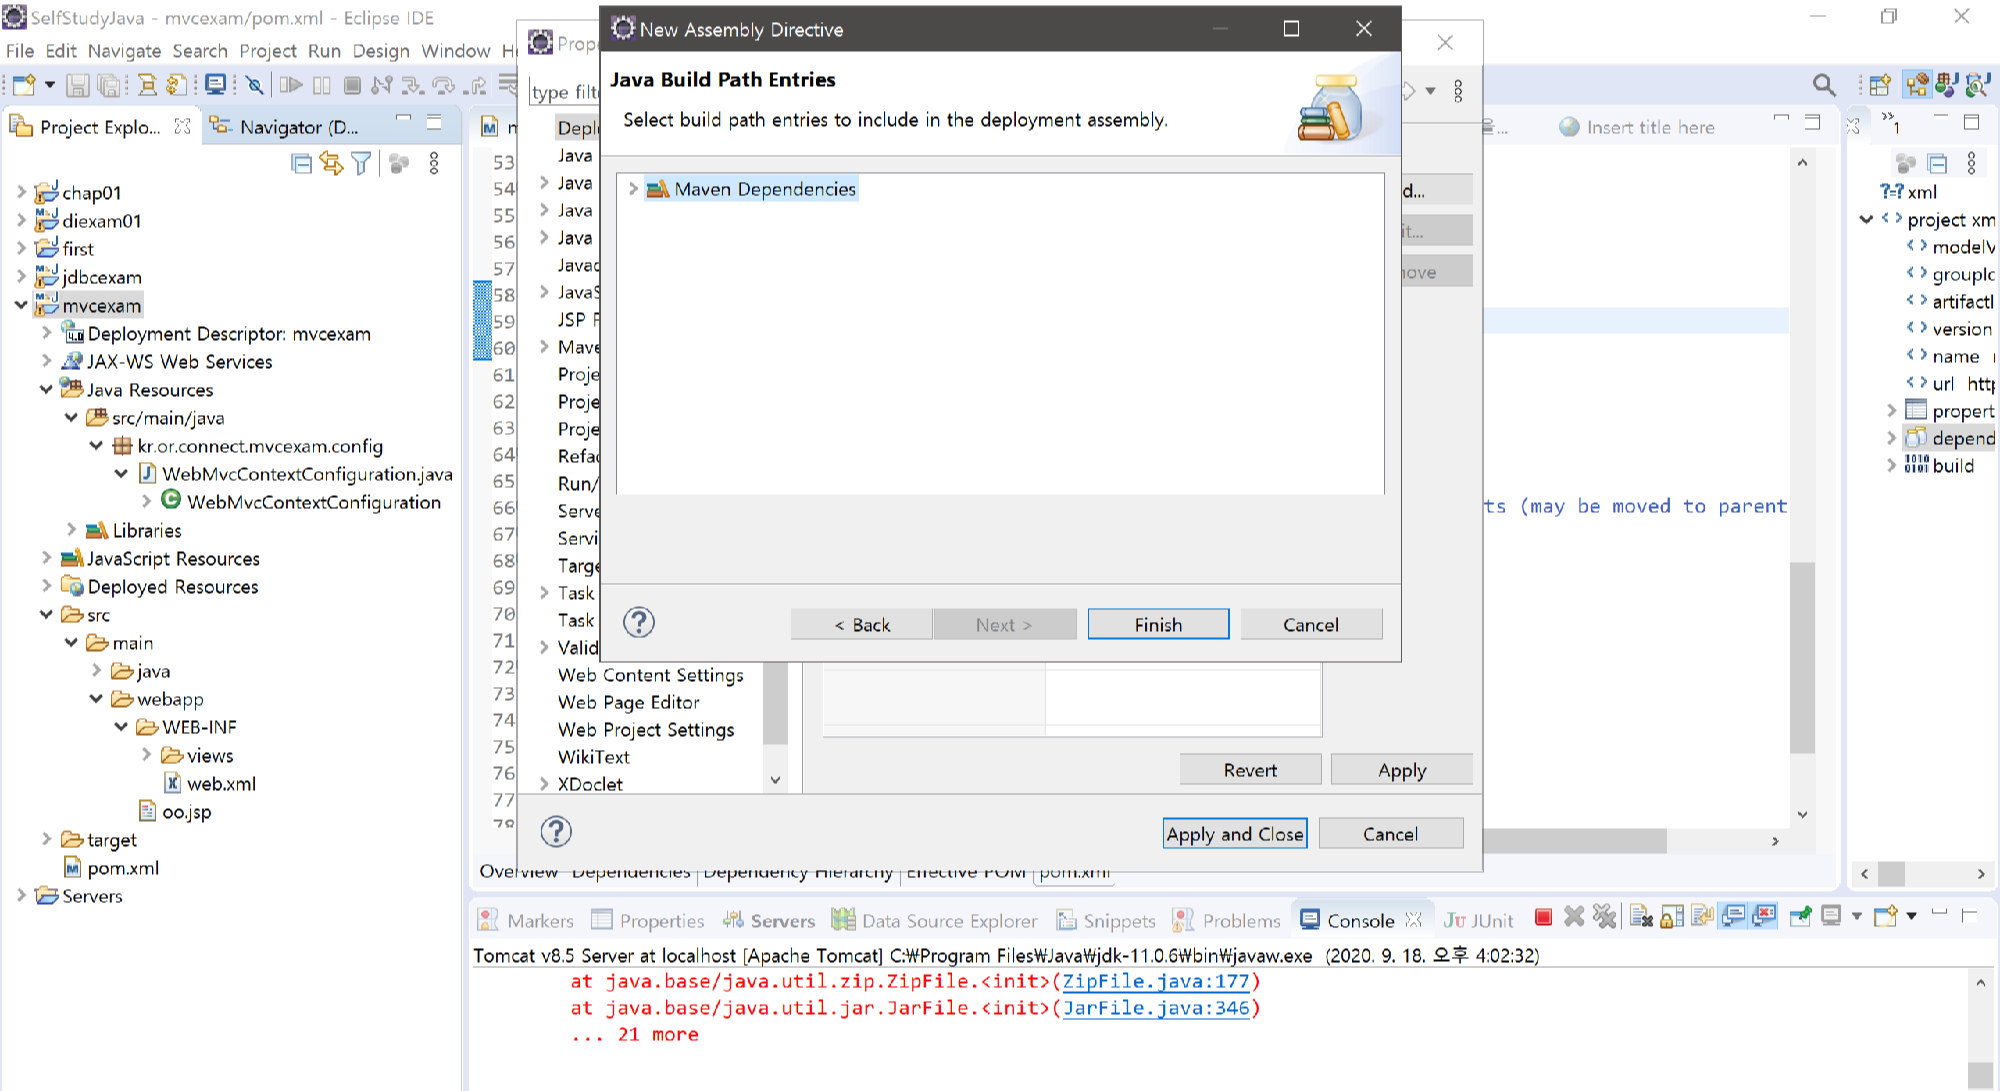
>>
Spring MVC를 이용한 웹 페이지 작성 실습(2)